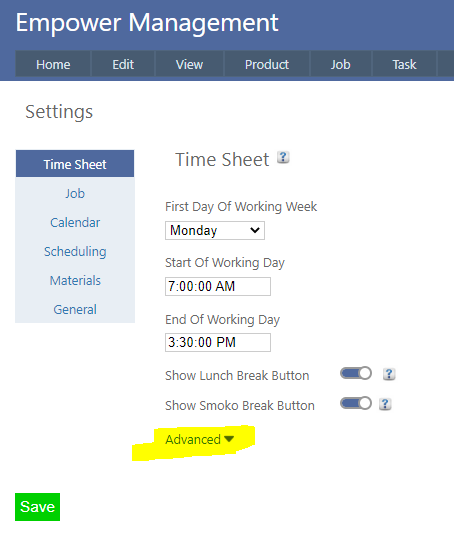
1. From the Main Management Menu select Tools > Settings.
2. Clicking on the Advanced button (see highlighted above) displays a number of additional advanced settings.
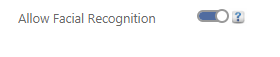
Ensure that Allow Facial Recognition is set to On (as displayed below)
Note that only an Administratorcan alter this setting.
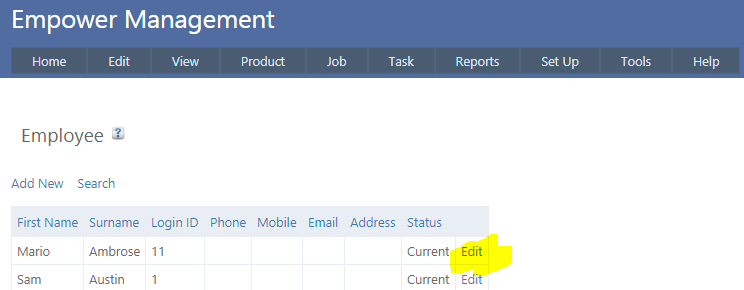
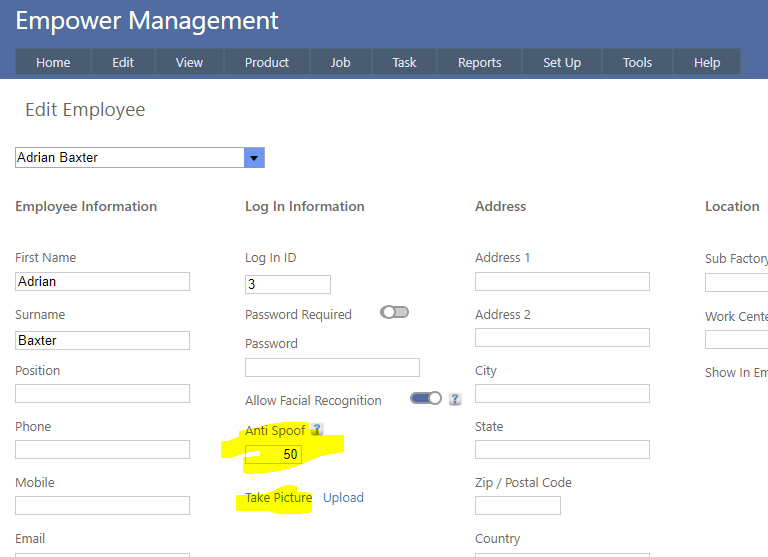
3. From the Main Management Menu select Set Up > Employee and click on Edit for the Employee you wish to set up for Facial Recognition (see highlighted below)
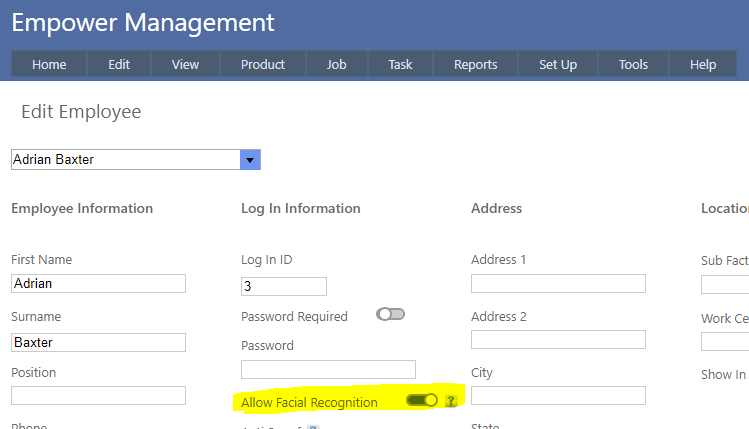
4. You should see a page similar to
5. Ensure that Allow Facial Recognition is set to on - see highlighted above.
6. You should now see Anti Spoof and Take Picture (highlighted below) and Upload
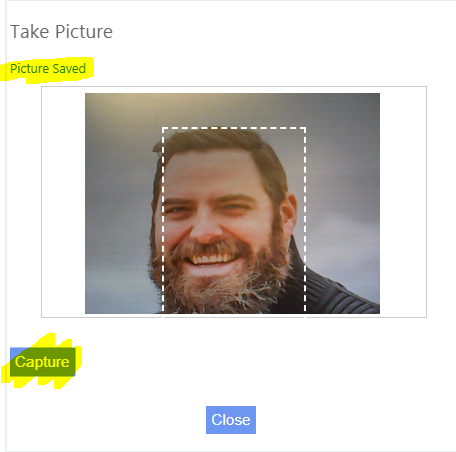
7. Click on Take Picture. Note that only Administrators can take pictures.
8. For best results try to get as much of the Employee's face within the dotted line square. We recommend taking off any hats or glasses, etc. not normally worn - then click on Capture (see highlighted above).
9. You should receive a message once the picture is saved (see highlighted above).
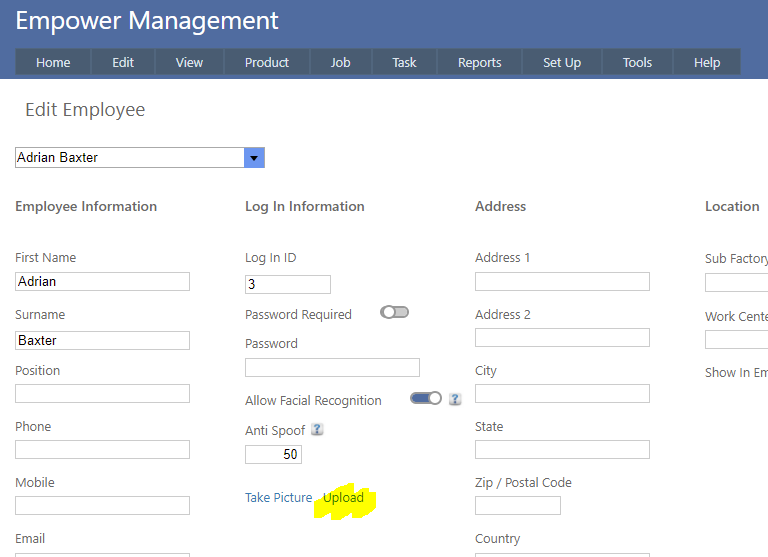
10. In addition to take a picture it is also possible to upload a picture of the Employee by clicking on Upload (highlighted below).
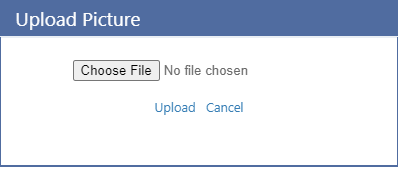
This allows a pre saved picture of the Employee to be selected for uploading (see below).